FastAPI 学习笔记 demo FastAPI对比特点 为什么选FastAPI 开启服务
目录
1 安装FastAPI
powershell展开代码# python 3.8
pip install fastapi uvicorn python-multipart
2 简单的例子 启动FastAPI服务
需要学习:
-
路由组织
-
CORS跨域问题
-
uvicorn启动
run1.py :
python展开代码# -*- coding:utf-8 -*-
import uvicorn
from fastapi import FastAPI, Request
from fastapi.middleware.cors import CORSMiddleware
from test_ok import app03
app = FastAPI(
    title='FastAPI',
    description='FastAPI教程',
    version='1.0.0',
    docs_url='/docs',
    redoc_url='/redocs',
)
app.add_middleware(
    CORSMiddleware,
    allow_origins=["*"],
    allow_credentials=True,
    allow_methods=["*"],
    allow_headers=["*"],
)
app.include_router(app03, prefix='/c3', tags=['test 3'])
@app.get("/hello")
async def path_params01():
    return {"hello world"}
if __name__ == '__main__':
    uvicorn.run('run1:app', host='0.0.0.0', port=8001, reload=True, debug=True, workers=1)
test_ok.py :
python展开代码# -*- coding:utf-8 -*-
from fastapi import APIRouter
app03 = APIRouter()
@app03.get("/path/parameters")
def path_params01():
    return {"message": "This is a message"}
启动:
powershell展开代码sudo /home/kevin_xie/miniconda3/envs/fastapi/bin/python run1.py
3 启动服务 单一文件
run1.py :
python展开代码# -*- coding:utf-8 -*-
import uvicorn
from fastapi import FastAPI, Request
from fastapi.middleware.cors import CORSMiddleware
app = FastAPI(
    title='FastAPI Tutorial',
    description='FastAPI教程',
    version='1.0.0',
    docs_url='/docs',
    redoc_url='/redocs',
)
app.add_middleware(
    CORSMiddleware,
    allow_origins=["*"],
    allow_credentials=True,
    allow_methods=["*"],
    allow_headers=["*"],
)
@app.get("/hello")
async def path_params01():
    return {"hello world"}
if __name__ == '__main__':
    uvicorn.run('run1:app', host='0.0.0.0', port=8001, reload=True, debug=True, workers=1)
启动:
powershell展开代码sudo /home/kevin_xie/miniconda3/envs/fastapi/bin/python run1.py
3 使用UploadFile上传图片和表单
python展开代码# -*- coding:utf-8 -*-
import uvicorn
from fastapi.middleware.cors import CORSMiddleware
from fastapi import FastAPI, File, Form, UploadFile
import cv2
import numpy as np
app = FastAPI(
    title='FastAPI Tutorial',
    description='FastAPI教程',
    version='1.0.0',
    docs_url='/docs',
    redoc_url='/redocs',
)
app.add_middleware(
    CORSMiddleware,
    allow_origins=["*"],
    allow_credentials=True,
    allow_methods=["*"],
    allow_headers=["*"],
)
@app.post("/files/")
async def alg_file(
        fileb: UploadFile = File(...),
        token: str = Form(...)
):
    img = cv2.imdecode(np.fromstring(fileb.file.read(), np.uint8), cv2.IMREAD_COLOR)
    return {
        "token": token,
        "filename": fileb.filename,
        "content_type": fileb.content_type,
        "size": img.shape
    }
if __name__ == '__main__':
    uvicorn.run('run1:app', host='0.0.0.0', port=8001, reload=True, debug=True, workers=1)
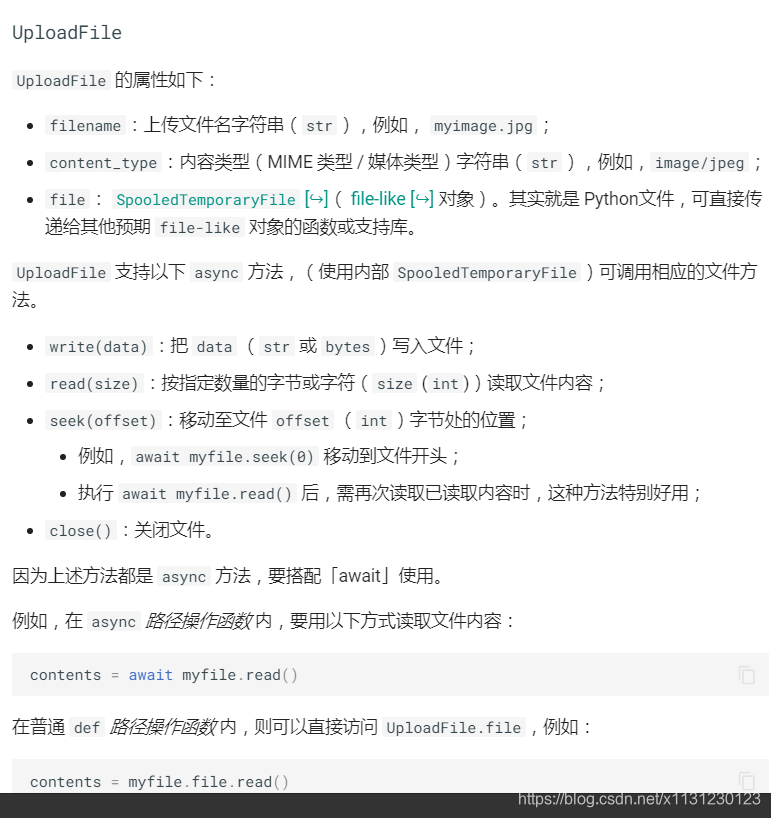
4 使用File上传图片和表单
python展开代码# -*- coding:utf-8 -*-
import uvicorn
from fastapi.middleware.cors import CORSMiddleware
from fastapi import FastAPI, File, Form, UploadFile
import cv2
import numpy as np
from io import BytesIO
app = FastAPI(
    title='FastAPI Tutorial',
    description='FastAPI教程',
    version='1.0.0',
    docs_url='/docs',
    redoc_url='/redocs',
)
app.add_middleware(
    CORSMiddleware,
    allow_origins=["*"],
    allow_credentials=True,
    allow_methods=["*"],
    allow_headers=["*"],
)
@app.post("/files/")
async def alg_file(
        file: bytes = File(...),
        token: str = Form(...)
):
    img = cv2.imdecode(np.frombuffer(file, dtype=np.uint8), 1)
    return {
        "token": token,
        "size": img.shape
    }
if __name__ == '__main__':
    uvicorn.run('run1:app', host='0.0.0.0', port=8002, reload=True, debug=True, workers=1)
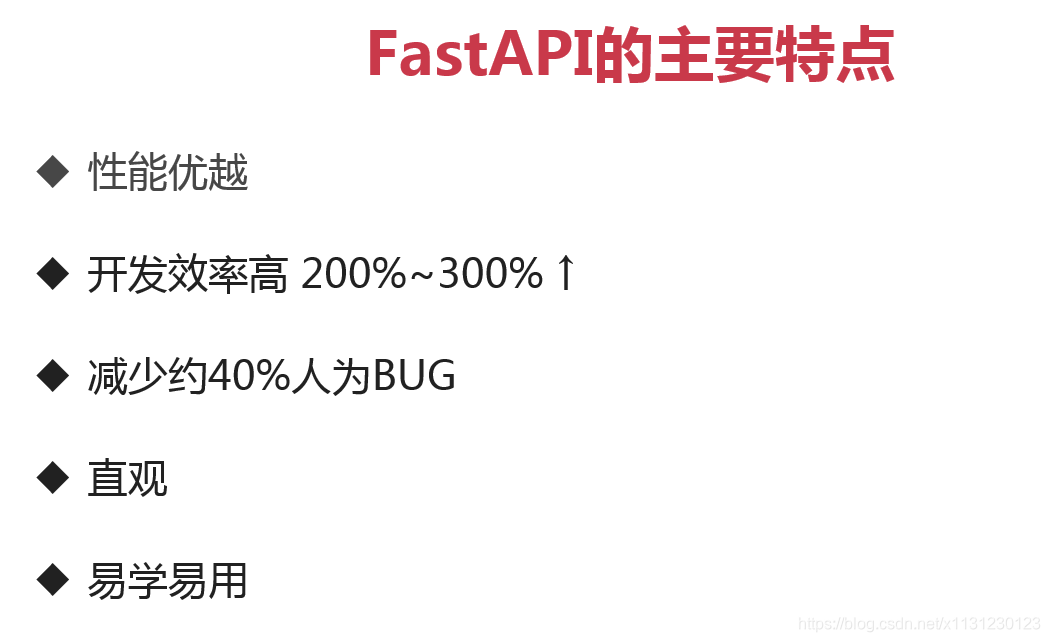
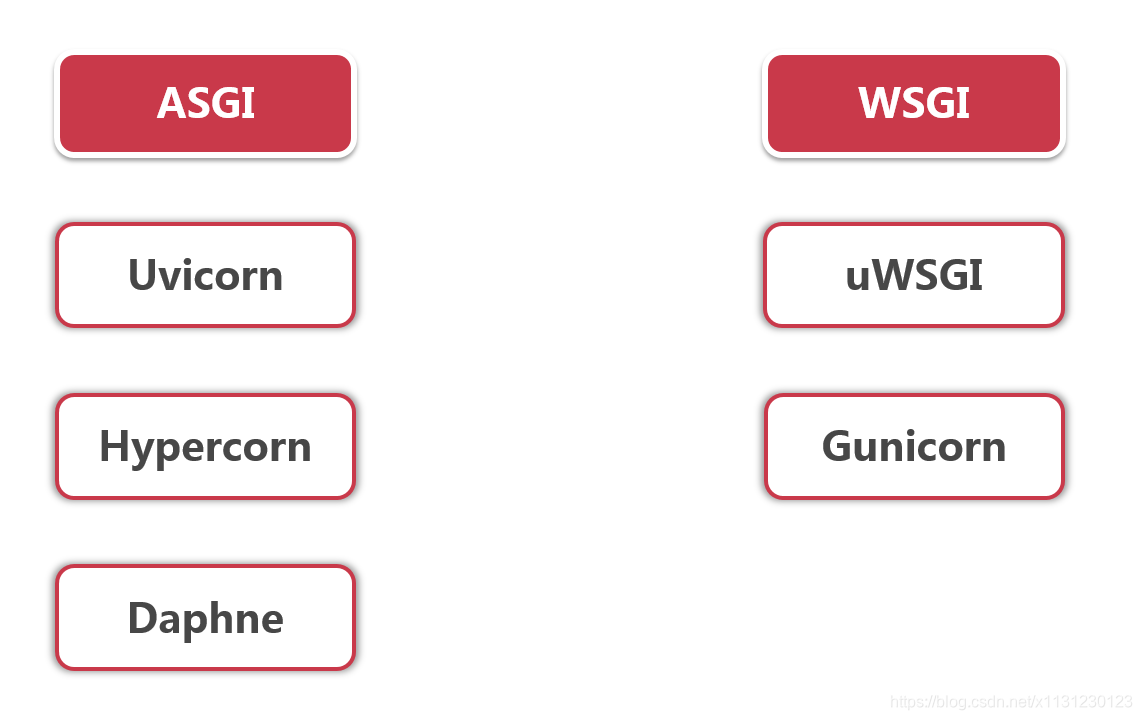
5 特点对比,为什么选FastAPI

参考
FastAPI中文文档:https://fastapi.tiangolo.com/zh/features/
FastAPI的一个项目:https://github.com/liaogx/fastapi-tutorial
如果对你有用的话,可以打赏哦
打赏


本文作者:Dong
本文链接:
版权声明:本博客所有文章除特别声明外,均采用 CC BY-NC。本作品采用《知识共享署名-非商业性使用 4.0 国际许可协议》进行许可。您可以在非商业用途下自由转载和修改,但必须注明出处并提供原作者链接。 许可协议。转载请注明出处!
目录