【Python】gradio如何给一个例子在网页中,gr.Examples
代码:
python展开代码import gradio as gr
# 这个函数将被绑定到 Gradio 界面的提交按钮上。
# 它简单地返回了上传的图片。
def process_image(image, image2, prompt, style, negative_prompt):
# 在这里添加你的图像处理逻辑
return image
# 这个函数用于提供给 gr.Examples 作为示例
def get_example():
return [
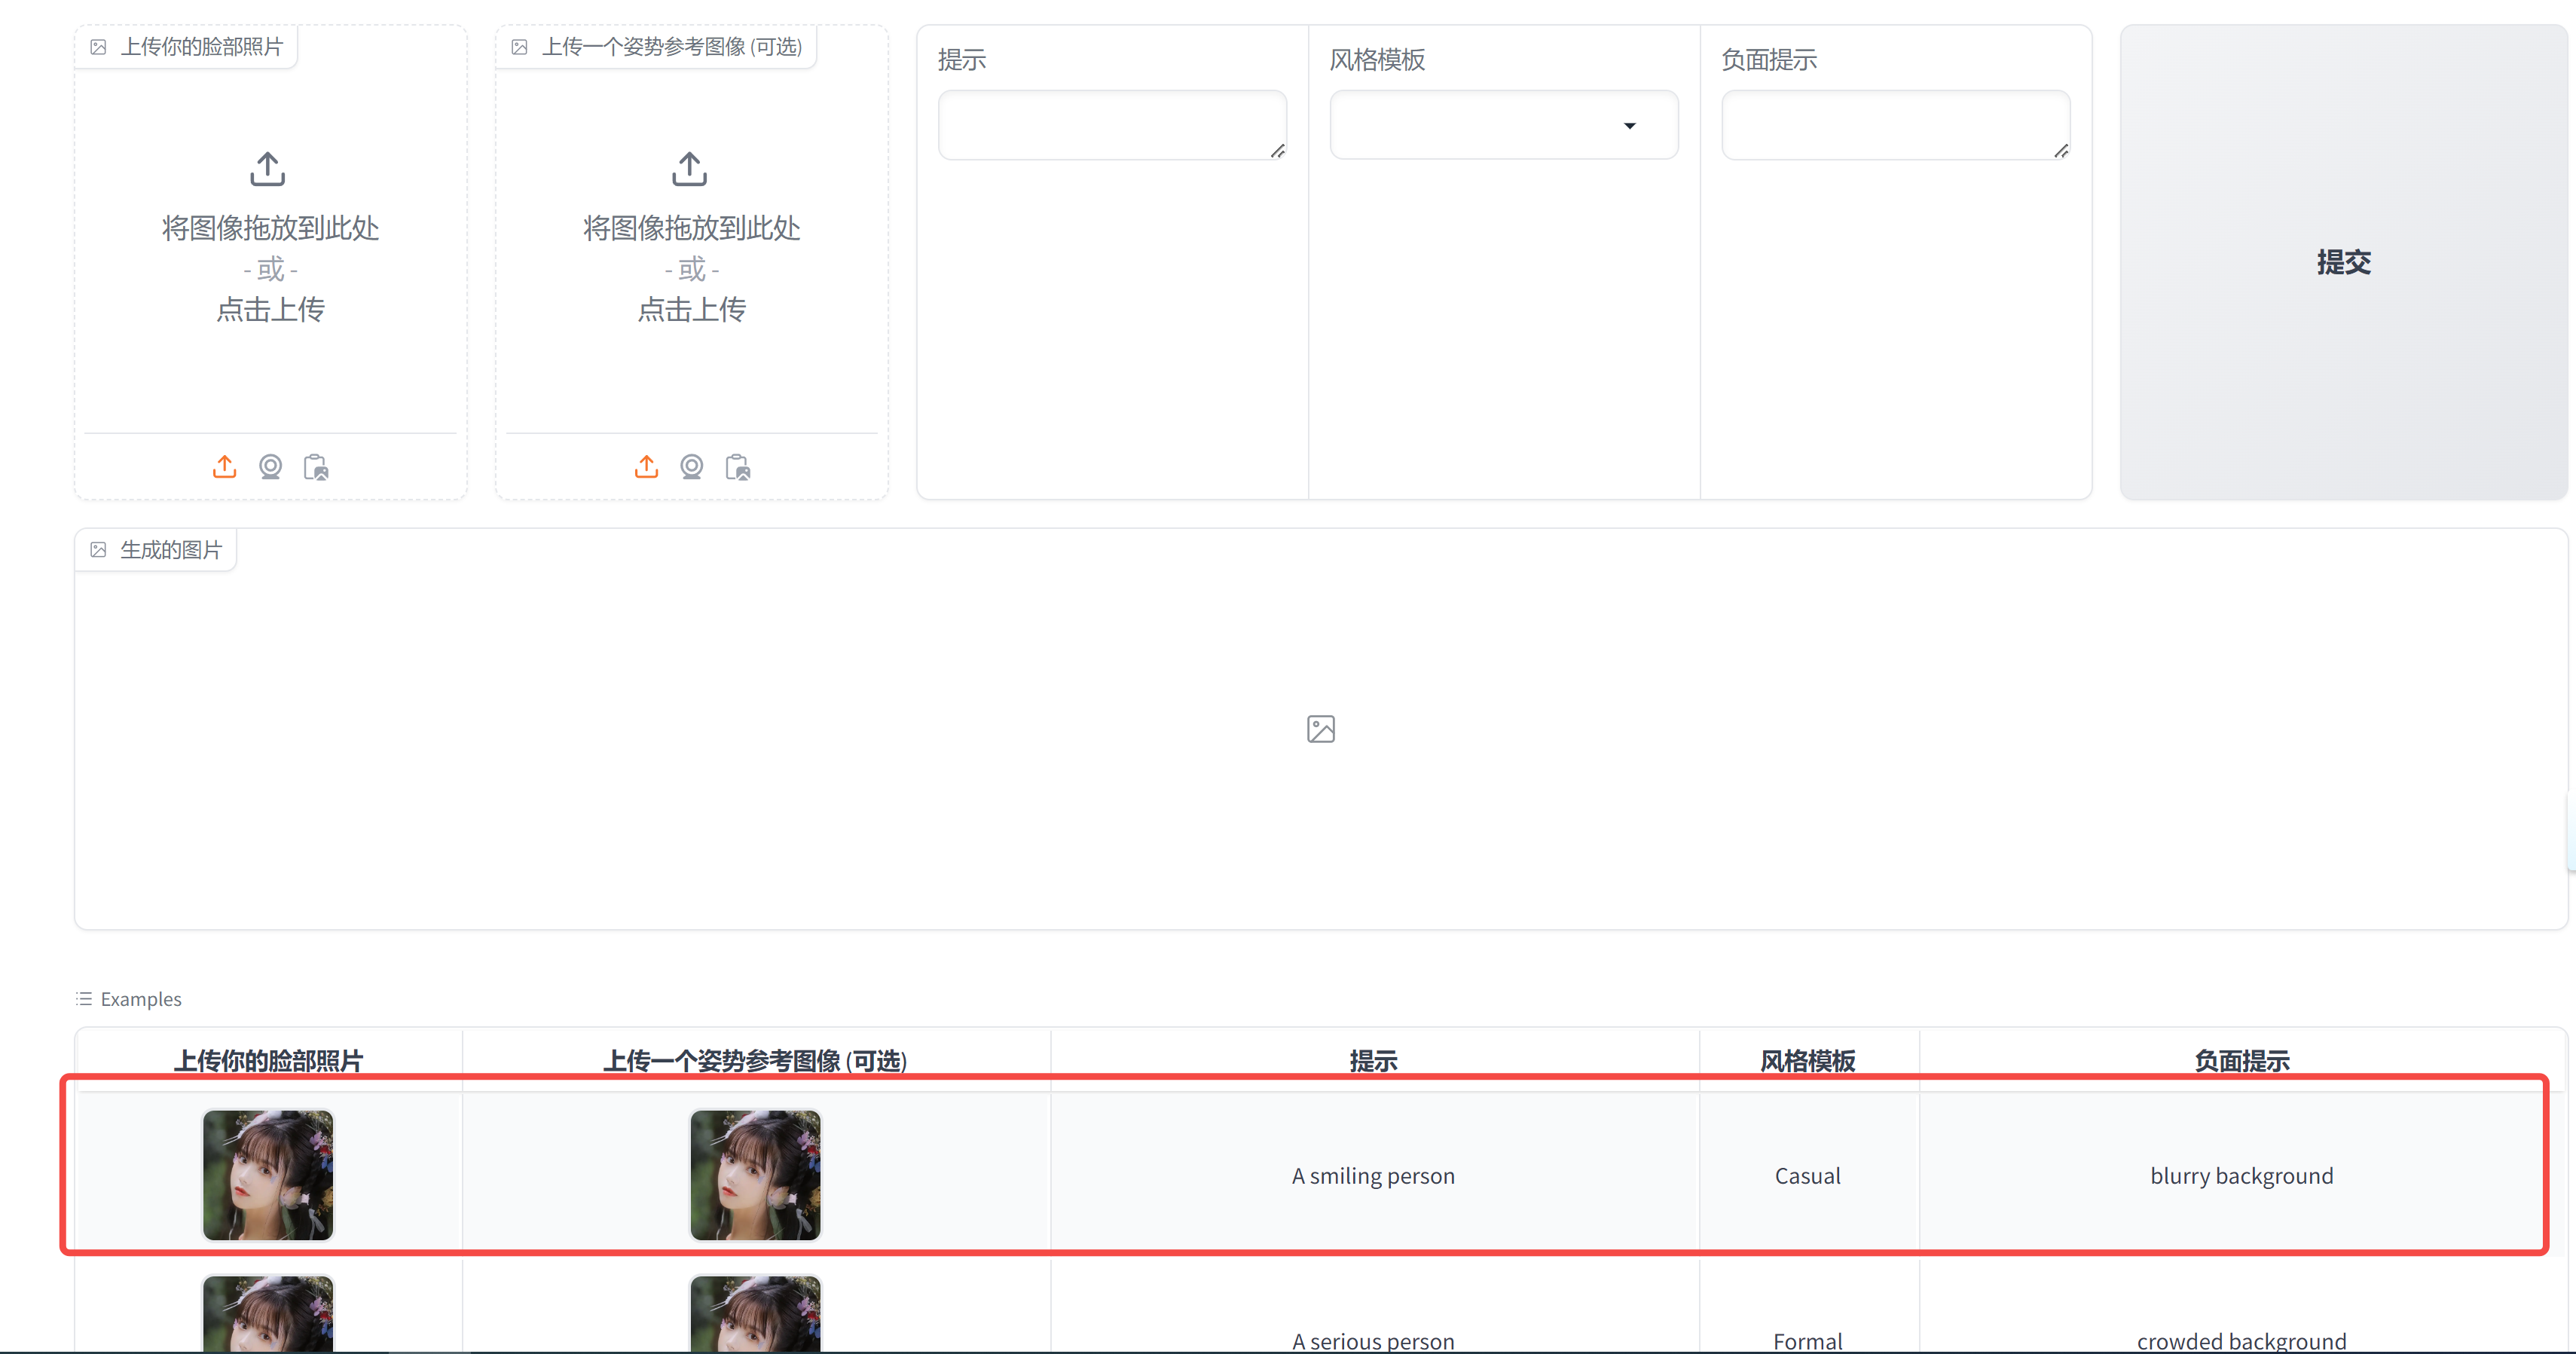
["example_face.png", "example_face.png", "A smiling person", "Casual", "blurry background"],
["example_face.png", "example_face.png", "A serious person", "Formal", "crowded background"]
]
# 使用 Gradio 创建界面
with gr.Blocks() as demo:
with gr.Row():
# 创建一个用于上传图片的组件
face_file = gr.Image(label="上传你的脸部照片", type="pil")
pose_file = gr.Image(label="上传一个姿势参考图像", type="pil")
prompt = gr.Textbox(label="提示")
style = gr.Dropdown(label="风格模板", choices=["Casual", "Formal"])
negative_prompt = gr.Textbox(label="负面提示")
# 创建一个提交按钮
submit_button = gr.Button("提交")
# 创建一个用于展示结果的图片组件
gallery = gr.Image(label="生成的图片")
usage_tips = gr.Markdown(label="使用提示")
# 当用户点击提交按钮时,调用 process_image 函数,并将上传的图片作为参数传递
submit_button.click(
fn=process_image,
inputs=[face_file, pose_file, prompt, style, negative_prompt],
outputs=gallery
)
# 添加示例到界面中
gr.Examples(
examples=get_example(),
fn=process_image, # 这里应该是你的处理函数,用于示例
inputs=[face_file, pose_file, prompt, style, negative_prompt],
outputs=gallery,
cache_examples=True,
)
# 启动 Gradio 应用
demo.launch()
效果:
如果对你有用的话,可以打赏哦
打赏


本文作者:Dong
本文链接:
版权声明:本博客所有文章除特别声明外,均采用 CC BY-NC。本作品采用《知识共享署名-非商业性使用 4.0 国际许可协议》进行许可。您可以在非商业用途下自由转载和修改,但必须注明出处并提供原作者链接。 许可协议。转载请注明出处!